Window Film Installation Tips and Tricks
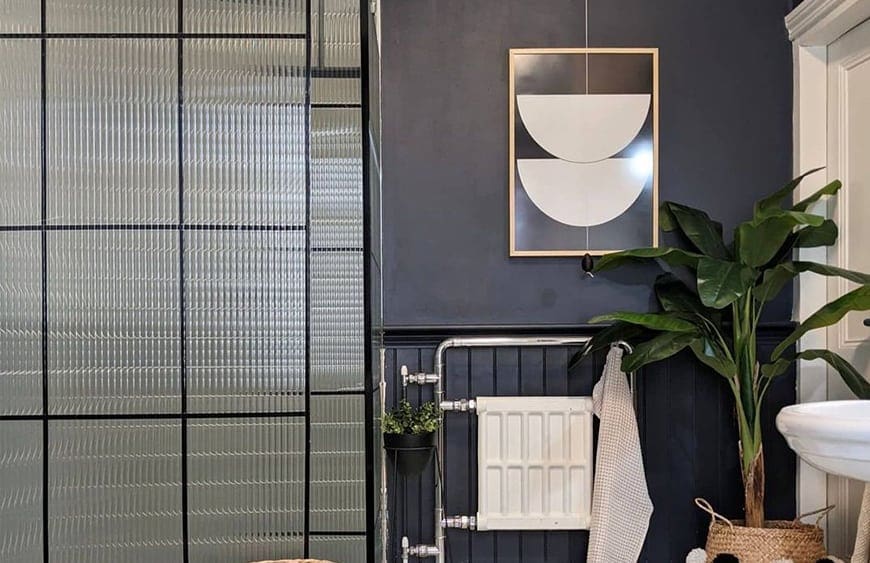
Pressure-sensitive adhesive window film is a fantastic way to enhance privacy, control sunlight, and improve energy efficiency in your home.
Follow the step-by-step guide, along with some helpful tips and tricks below, to ensure a successful installation.
Step-by-Step Installation Guide
1. Measure and Cut: Measure the dimensions of the window accurately, both vertically and horizontally. Add an extra inch to each side for some leeway during installation. Trim the window film to match these measurements using scissors or a utility knife.


2. Clean the Window: Thoroughly clean the window surface using a glass cleaner. It is really important to remove any dust, dirt, or grime to ensure proper adhesion of the film.
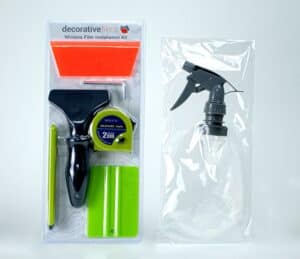
3. Prepare the Spray Solution: Fill a spray bottle with water and add a drop of dish soap. Shake gently to mix the solution. This will act as a lubricant during installation, allowing you to reposition the film as needed.


4. Wet the Window: Spray the window generously with the water and soap mixture. This will prevent the film from sticking immediately and provide some maneuvering room.
5. Peel and Apply: Peel about an inch of the backing from the top edge of the film. Align the top edge of the film with the top of the window. Slowly lower the film, allowing it to gradually come into contact with the wet window surface.


6. Smooth Out Air Bubbles: As you lower the film, use a squeegee or credit card to gently push out any air bubbles towards the edges. Work from the center outwards to ensure a smooth surface.
7. Continue Applying: Slowly peel away more of the backing and continue to apply the film, smoothing out air bubbles as you go. Use your fingers to lightly press the film against the window.


8. Trim Excess Film: Once the film is fully applied, use a sharp utility knife and something with a straight edge to trim any excess film along the edges. Be careful not to cut the actual window frame.
9. Final Squeegee: Once the film is in place, use the squeegee or credit card again to press out any remaining air bubbles and ensure firm adhesion. Allow the film to dry for at least a day before cleaning.

Key Tips and Tricks
- Work Slowly: Take your time during the installation process. Rushing can lead to mistakes and air bubbles.
- Use Ample Lubrication: Keep the window and the film wet with the water and soap solution to help with positioning and prevent the film from sticking prematurely.
- Trim with Precision: Use a straightedge and a sharp utility knife for clean and accurate trimming.
- Smooth from the Center: When using the squeegee or credit card, start from the center and move outward to eliminate air bubbles effectively
- Avoid Direct Sunlight: Try to install the film on a cloudy day or when the window surface is cool. Direct sunlight can make the film stick too quickly, making it difficult to reposition.
- Two-Person Job: For larger windows, having an extra set of hands can be very helpful to ensure a smooth installation.
- Practice Patience: It’s common to encounter small air bubbles during installation. Most of these will disappear over a few days as the film fully adheres to the window.
By following these steps and tips, you’ll be able to successfully install your window film and enjoy the benefits of enhanced privacy, decoration and energy efficiency in your space.

